Swift 007 Semantics Lab
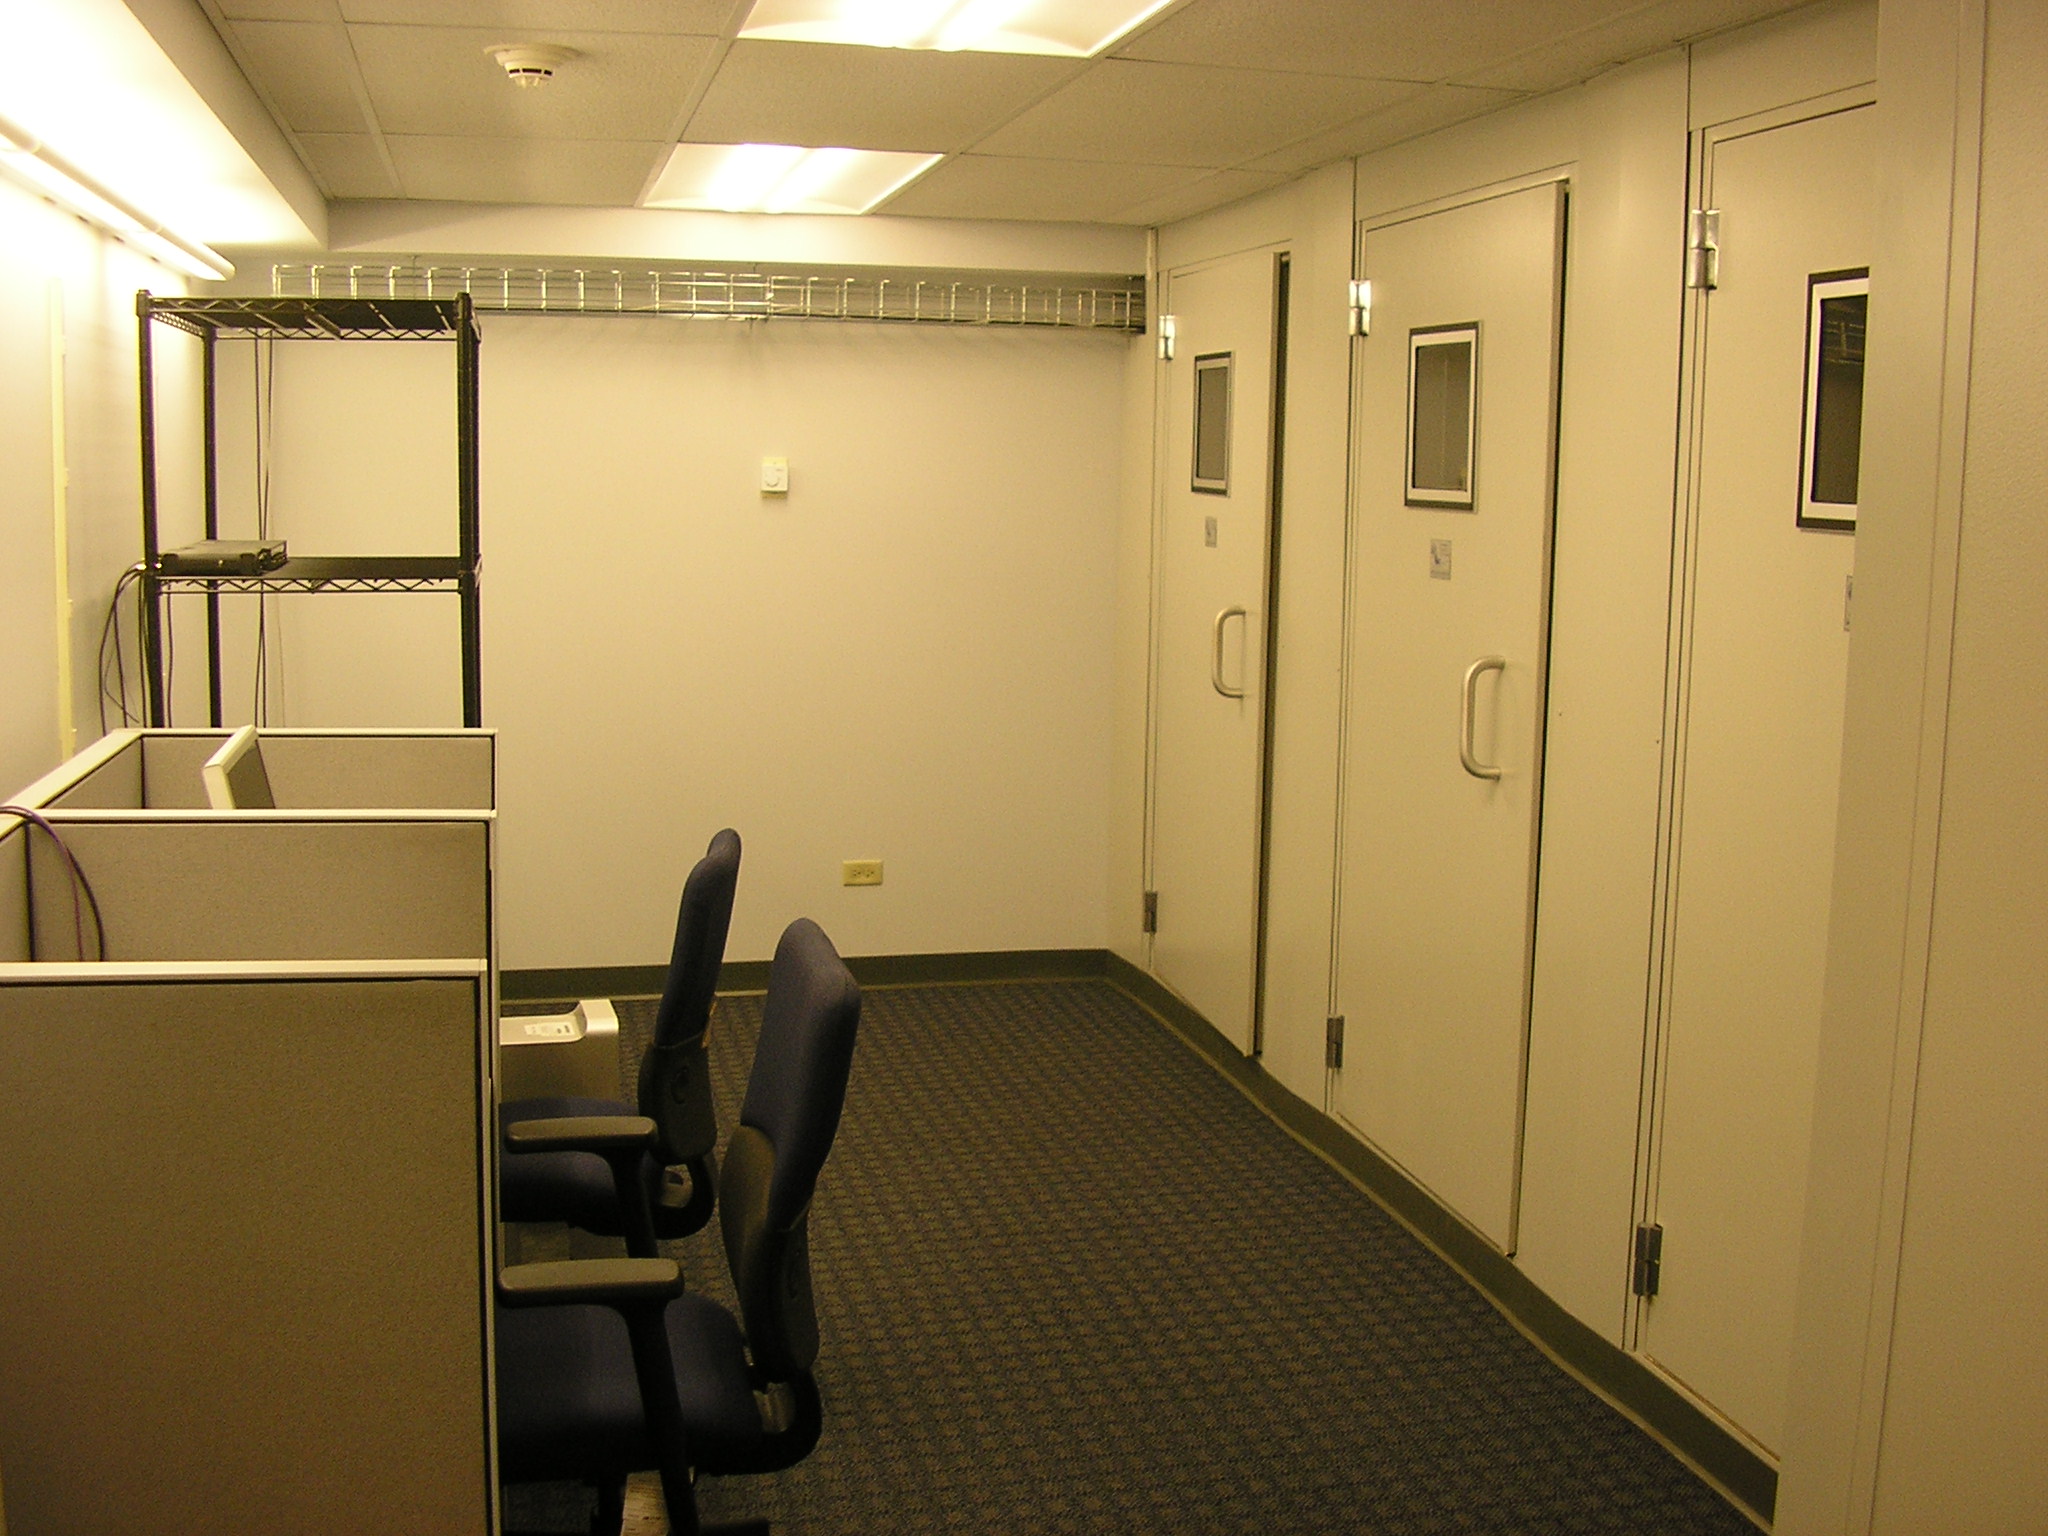
The Swift 007 Semantics Lab contains three single-booths and one double-booth for semantics experiments.
Equipment List
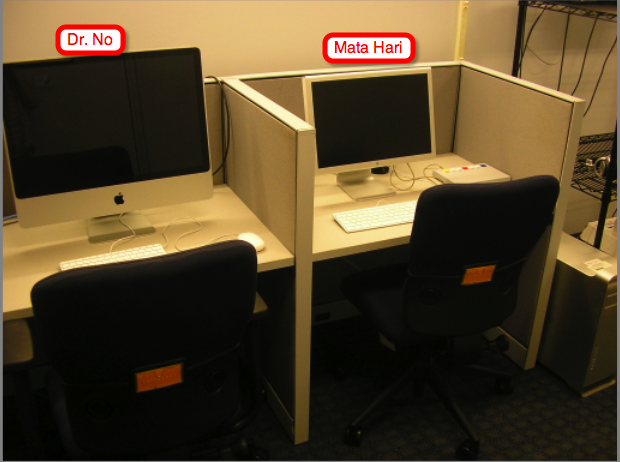
- Mac Pro ("Mata Hari") 2x2.66 Dual Core Xeon, 2GB 667 Mhz memory
- iMac ("Dr. No") 20-inch 2.0GHz Intel Core 2 Duo, 2GB 667Mhz memory
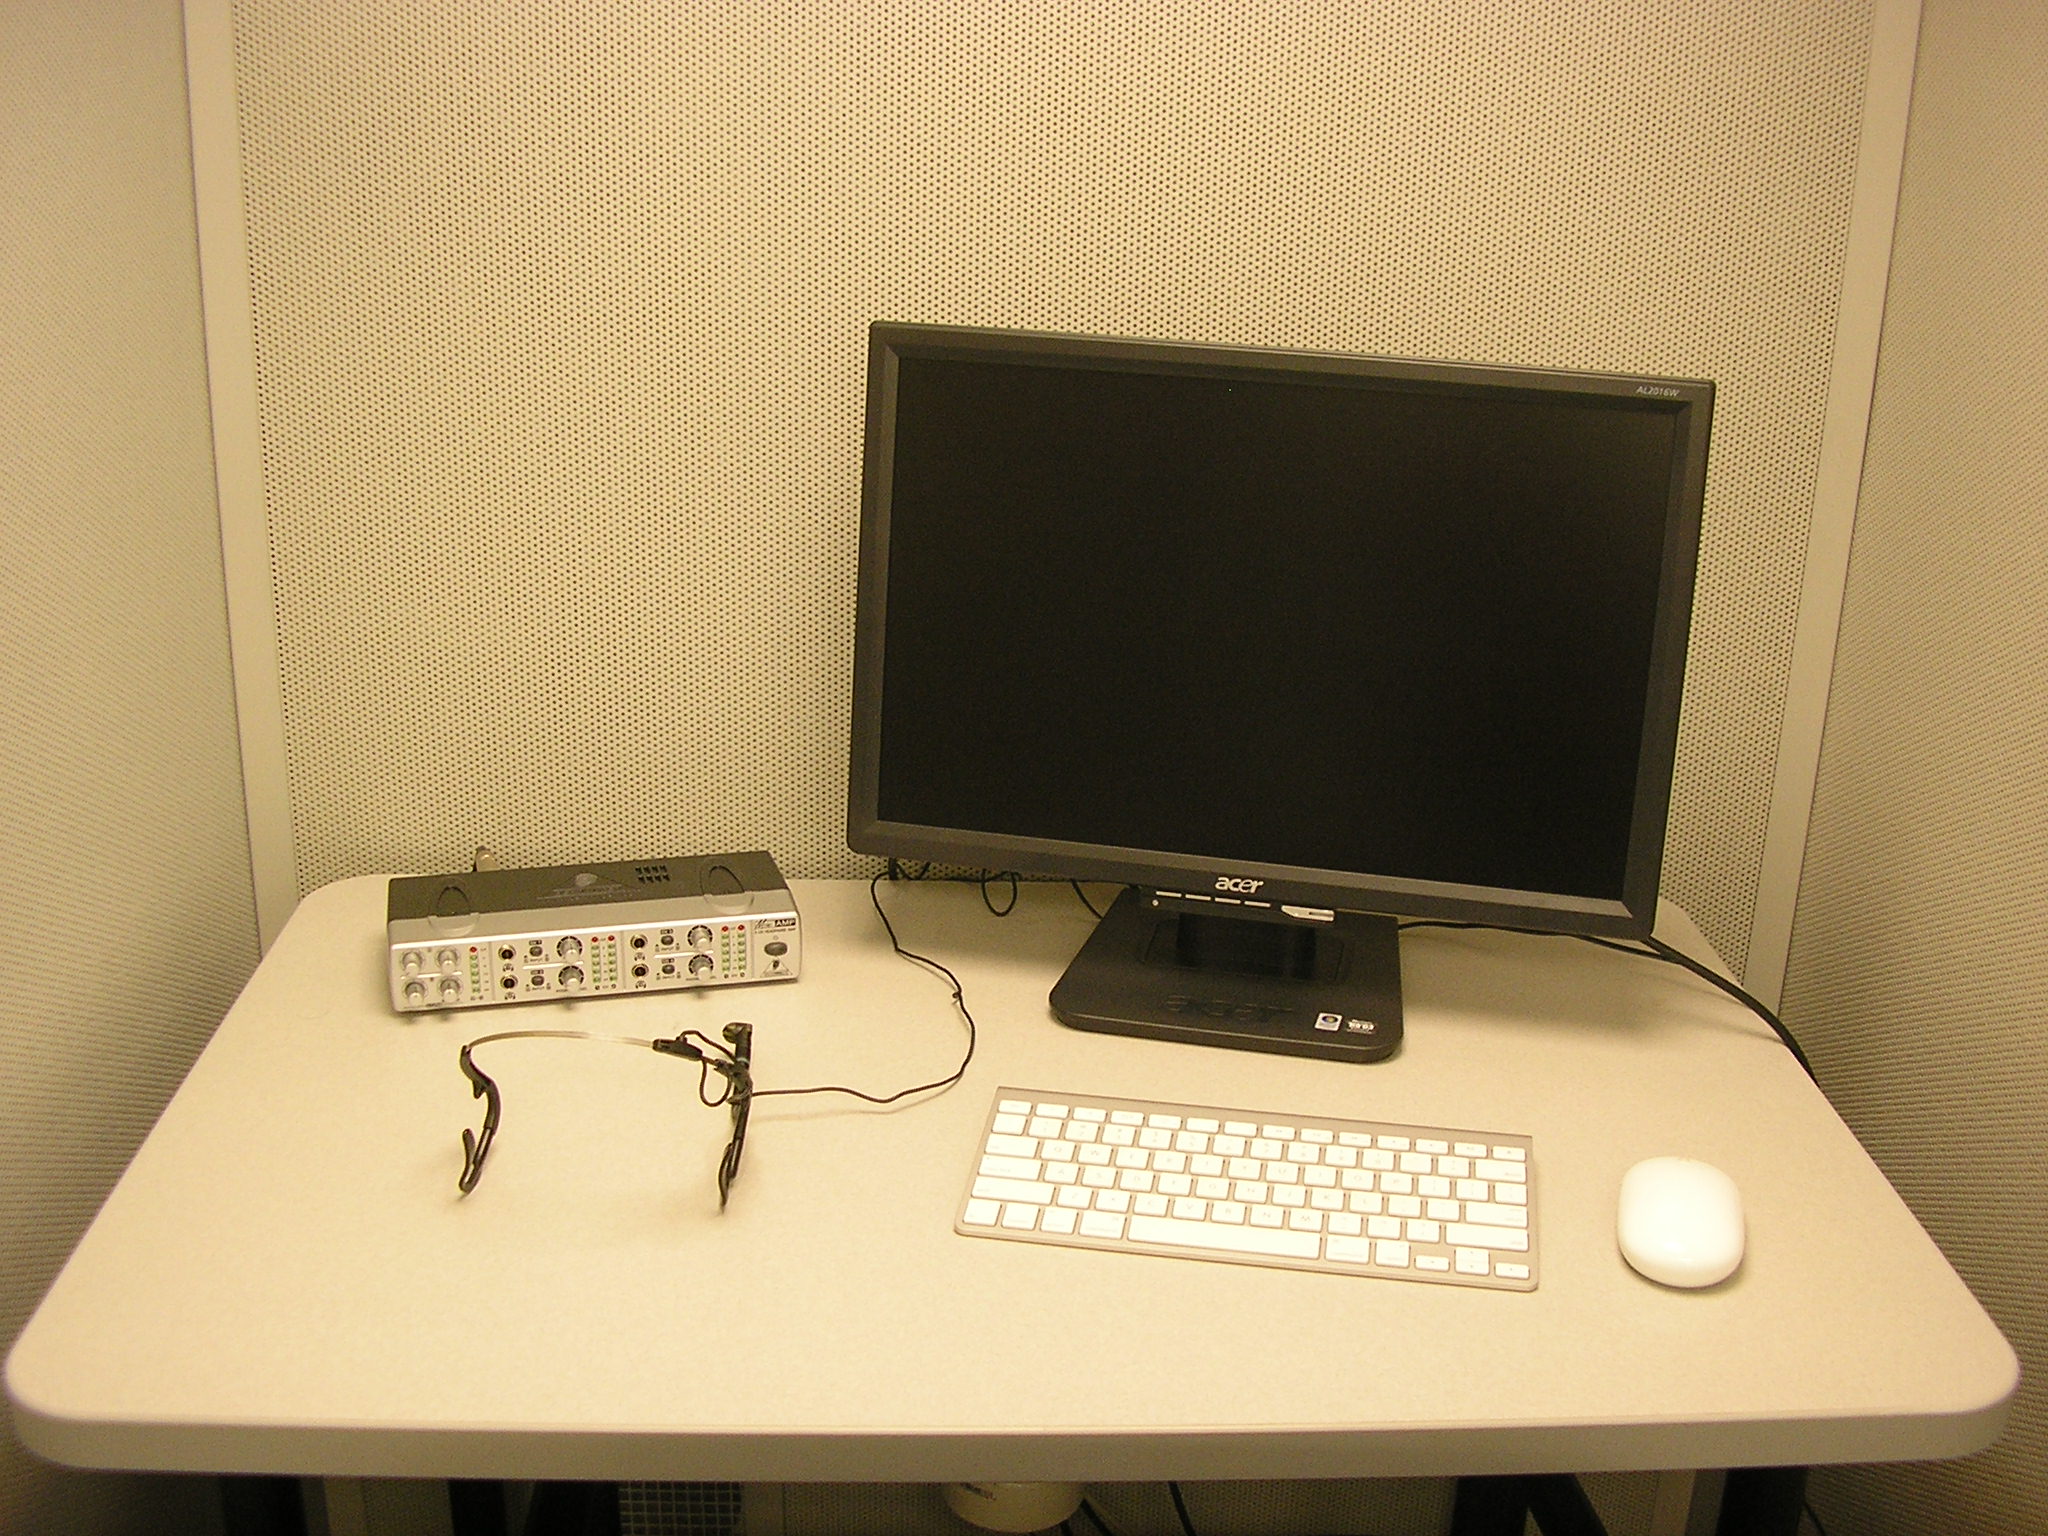
- iMac (temporarily located in double booth) 24-inch 2.66 GHz Intel Core 2 Duo, 4GB 1067MHz memory
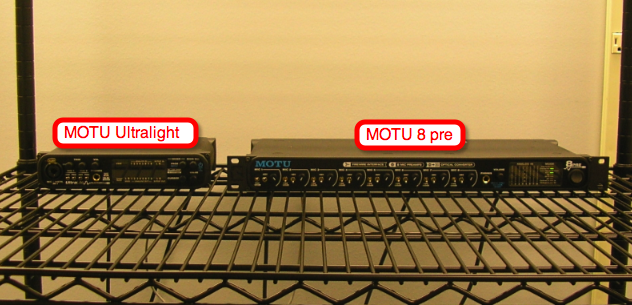
- MOTU 8 pre
- MOTU Ultralight
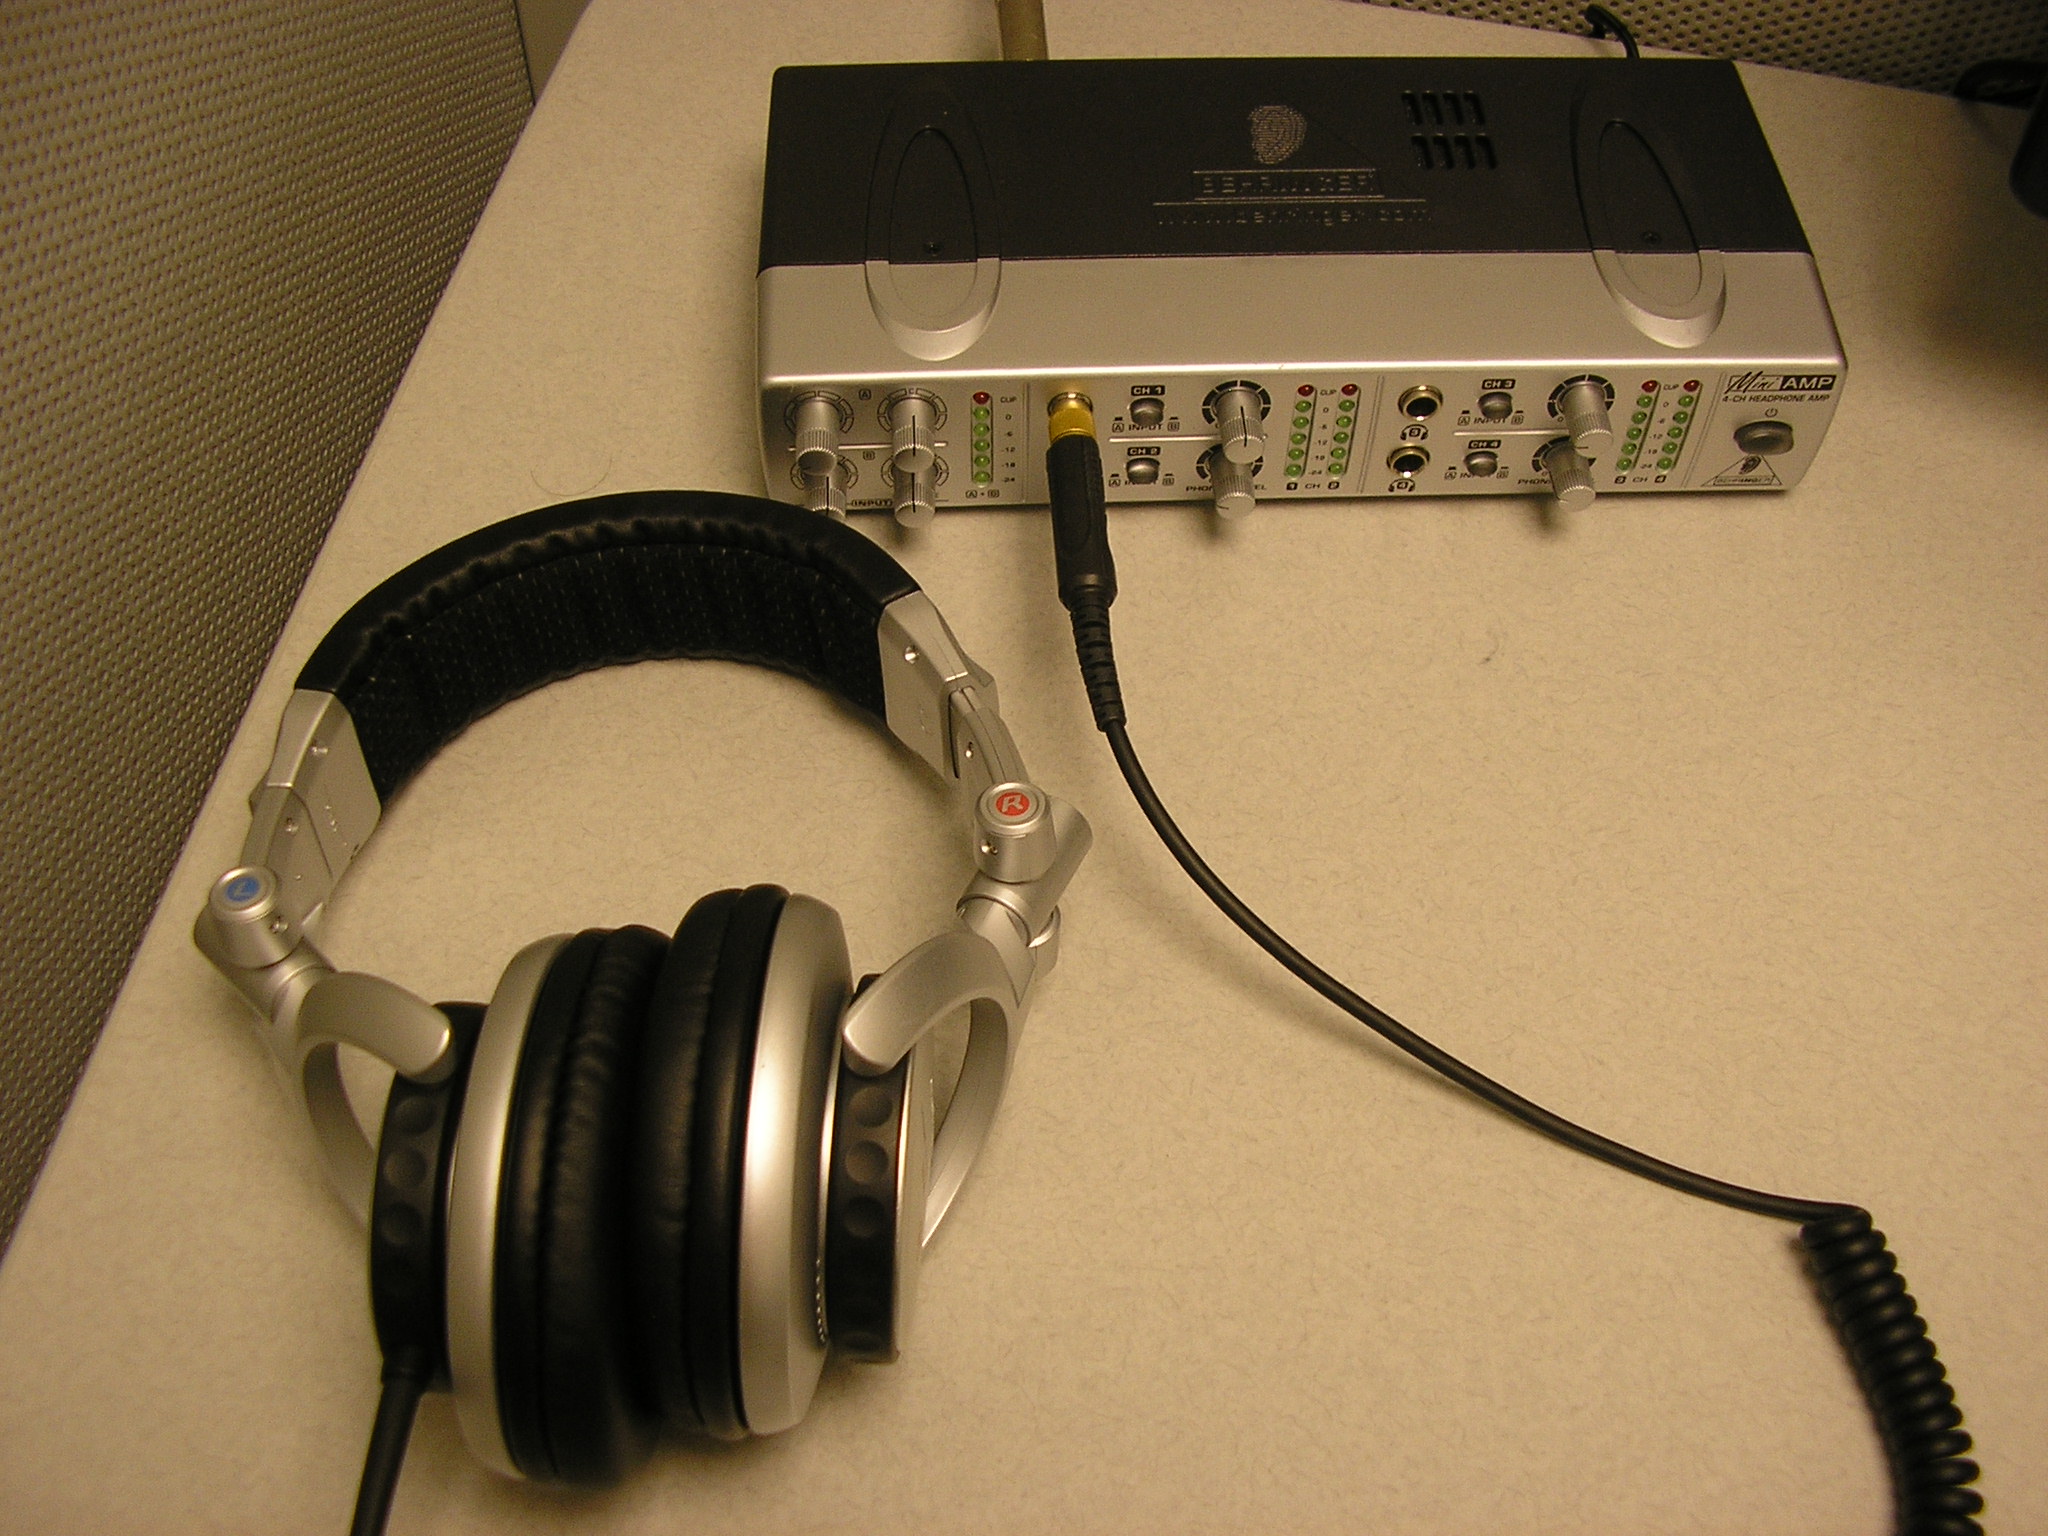
- Sony MDRV700 Headphones
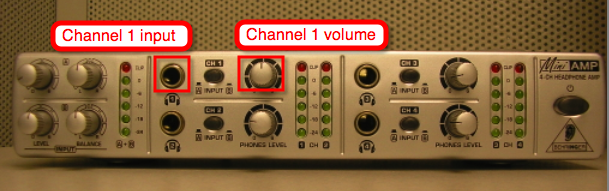
- Behringer MiniAmp800 4 Channel Headphone Amplifier
- AKG C420 Headmounted Mics
Set up instructions
- Turn on both computers ("Dr. No" and "Mata Hari").
- Make sure that both MOTU audio devices on the rack are on. If the MOTU ultralight is off, hold down the volume button to power up. The MOTU 8 pre has a toggle on/off switch on the right of the front face.
- Setup your experiment on "Dr. No". Dr No's monitor is mirrored with the flat screen monitor in the single booth furthest from the lab front door. Your subject will be able to interact with the experiment inside the booth using the wireless mouse, keyboard or USB button box.
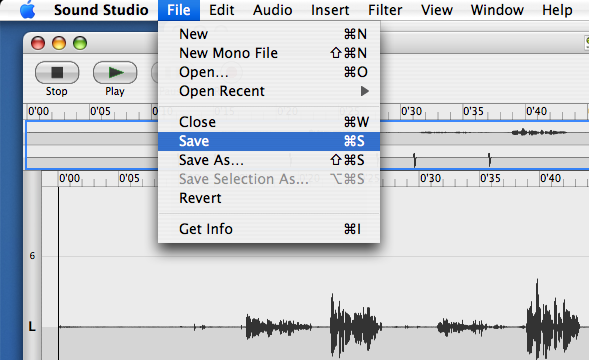
- Launch "Sound Studio" on "Mata Hari".
- If you are running an experiment that requires audio recording, have the subject sit in the booth with the microphone placed as close as possible to the mouth and slightly below the lower lip.
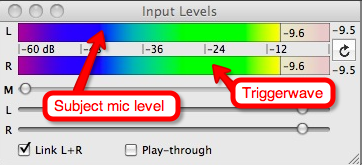
- Have the subject vocalize at normal volume while you adjust the volume level of the incoming signal. You want to obtain the loudest possible signal without clipping (within the green and yellow zones but not in the red).
- The left channel input level corresponds to the subject's voice through the mic in the booth. The right channel corresponds to the TriggerWave signal used to mark/segment recordings
- If your experiment requires the subject to respond to audio stimuli, have the subject put on the headphones. Plug the headphones into channel 1 of the Behringer Headphone amp. Have the subject adjust the volume of the headphones to a comfortable listening level using the Ch1 volume control
- Close the booth door and click the record icon in Sound Studio to begin recording.
- Keep track of the incoming volume level, making sure that the levels are not clipping.
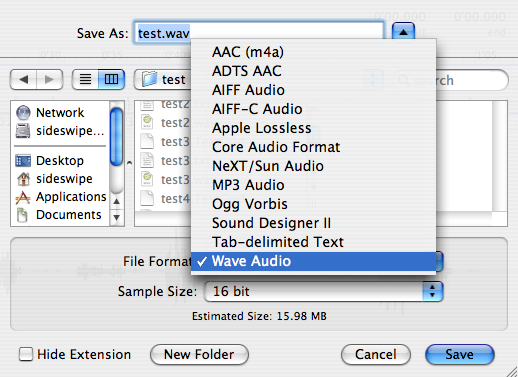
- After the recording is complete, select File->Save in "Sound Studio" and save your audio file. Select the "wave" file format and a 16 bit sample size.


Troubleshooting
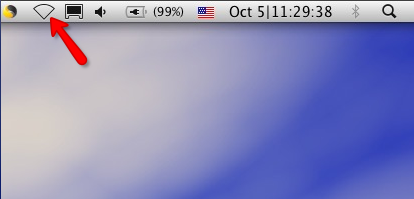
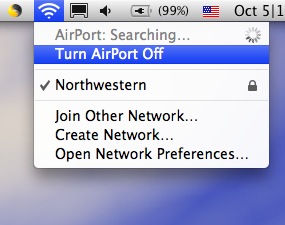
- Make sure the Airport wireless adapter is turned off.
- Additional troubleshooting tips can be found in the Cresap 105 troubleshooting checklist